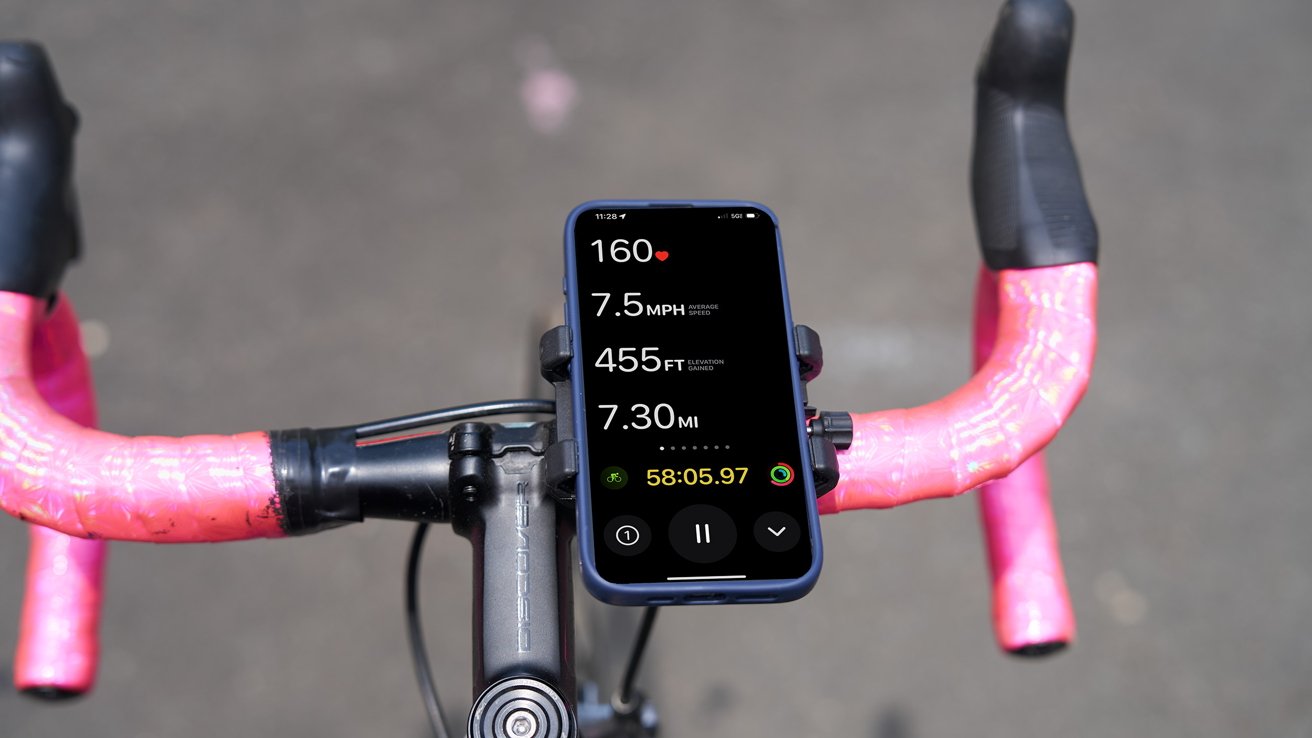
Mount your iPhone on your handlebars, fire up your Watch and you’re good to go.

In iOS 17 and watchOS 10, Apple turned the iPhone and Apple Watch into full-featured bike computers. Here’s how to set up your devices and add cadence sensors, speed sensors, and more to track your rides.
Since the introduction of the Apple Watch, cyclists like myself have wondered why they can’t use the iPhone and Apple Watch as full-featured bike computers.
With watchOS 10 and iOS 17 Apple introduced new functionality that allows the Apple Watch and iPhone to connect to a range of cycling-specific sensors.
Apple also overhauled the display of cycling information on the iPhone when paired with an Apple Watch.
Speed, Power, and Cadence now supported
The three main types of sensors now available to Apple Watch users are cadence, power meters, and additional speed sensors. Cadence sensors and power meters are often used by cyclists training for events or races, and even many dedicated bike computers aren’t compatible with power meters.
Speed sensors might not seem necessary since the Apple Watch tracks speed and difference. The Apple Watch and iPhone use GPS to calculate speed and distance.
The Apple Watch and iPhone have excellent GPS tracking abilities for speed and distance estimation. However a physical speed sensor measures wheel rotations and provides more accurate
When a cadence or speed sensor is paired to the Apple Watch, those data points are displayed on the Apple Watch.
Apple also improved how the iPhone displays data during cycling activities, transforming it into a fully featured bike computer that displays basic metrics but also data from the new sensors.
The problem with sensors
Bike computers are complex tools that sample data from multiple sensors and display cycling-specific data like cadence and power, speed, heart rate, and distance. Before iOS 10, the Apple Watch could record basic data about a cycling workout and some advanced metrics but could not connect to third-party sensors.
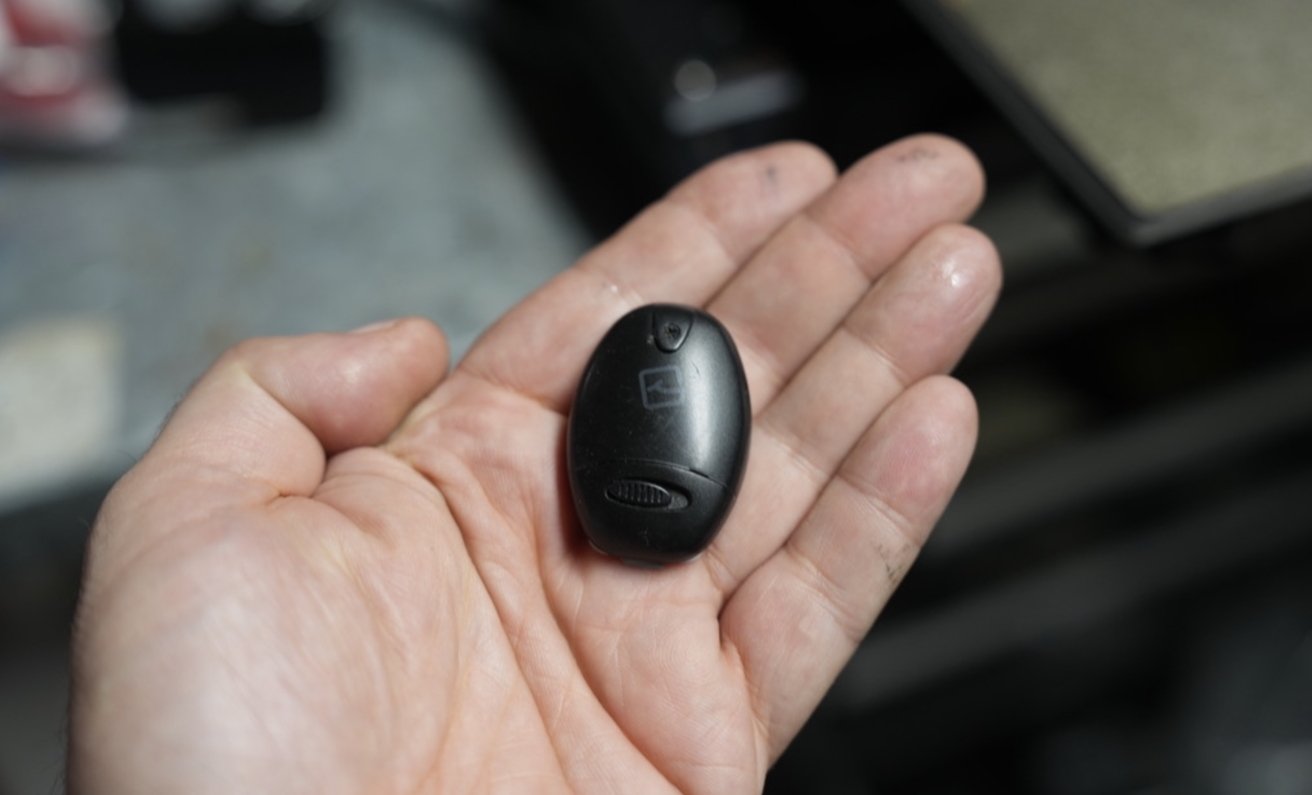
A small device like a cadence sensor can make a big difference when training.
That’s because Apple only allowed certain Bluetooth devices to connect. You could pair headphones or speakers with the Apple Watch but couldn’t add a Bluetooth exercise sensor.
Another drawback of the Watch for cycling is that while it captures much data, it only displays some in real-time. During a ride, you can view your distance, calories, and heart rate on the Watch, but no additional data like elevation and altitude.
The iPhone itself couldn’t be used as a true bike computer. Cyclists had to rely on third-party apps to track a ride or look at their watches periodically. Staring at your arm is not the safest way to ride, so cyclists kept using dedicated bike computers.
The Apple Watch was further limited in its usefulness because it could not track things like cadence and power. Even it could track that data, the iPhone couldn’t display it.
As a result, many cyclists wear the Apple Watch, carry their iPhones, and use bike computers.
Bluetooth devices vs. ANT+
With watchOS 10, Apple introduced the ability to pair Bluetooth cycling sensors and overhauled the connection between the Watch and the iPhone so that the iPhone shows much more cycling data and works more closely with the Apple Watch.
The combined Apple watch and a power meter can help evaluate cyclists’ fitness levels. With a power meter, you can evaluate your FTP, a measurement of a cyclist’s true power-based abilities.
Again, power and the resulting FTP calculation are features usually found only on high-end bike computers.
An important limitation is that only Bluetooth sensors can be paired with the Apple Watch. Many cycling devices use ANT+ technology to connect to bike computers.
Luckily, most ANT+ sensors transmit over Bluetooth, but some accessories only use ANT+. Manufacturers list the supported communication methods, so check the box or website before buying a sensor for the Apple Watch and iPhone.
One of the most typical kinds of sensors is a cadence sensor, and there are countless of these tiny devices on Amazon and other bike markets.
Generally, I avoid no-name brands in electronics, but cadence sensors are an exception. These little devices track how often they go around in a full circle and tend to be accurate thanks to the simple motion they’re tracking.
Cadence sensors range from around $15 to $60, though the biggest variations in price are due to the level of waterproofing. While it’s not the cheapest sensor, the Wahoo Cadence sensor is from a well-known brand, and is rated for submersion in up to five feet of water. That’s perfect for muddy mountain bike rides, or road rides where a downpour opens up.
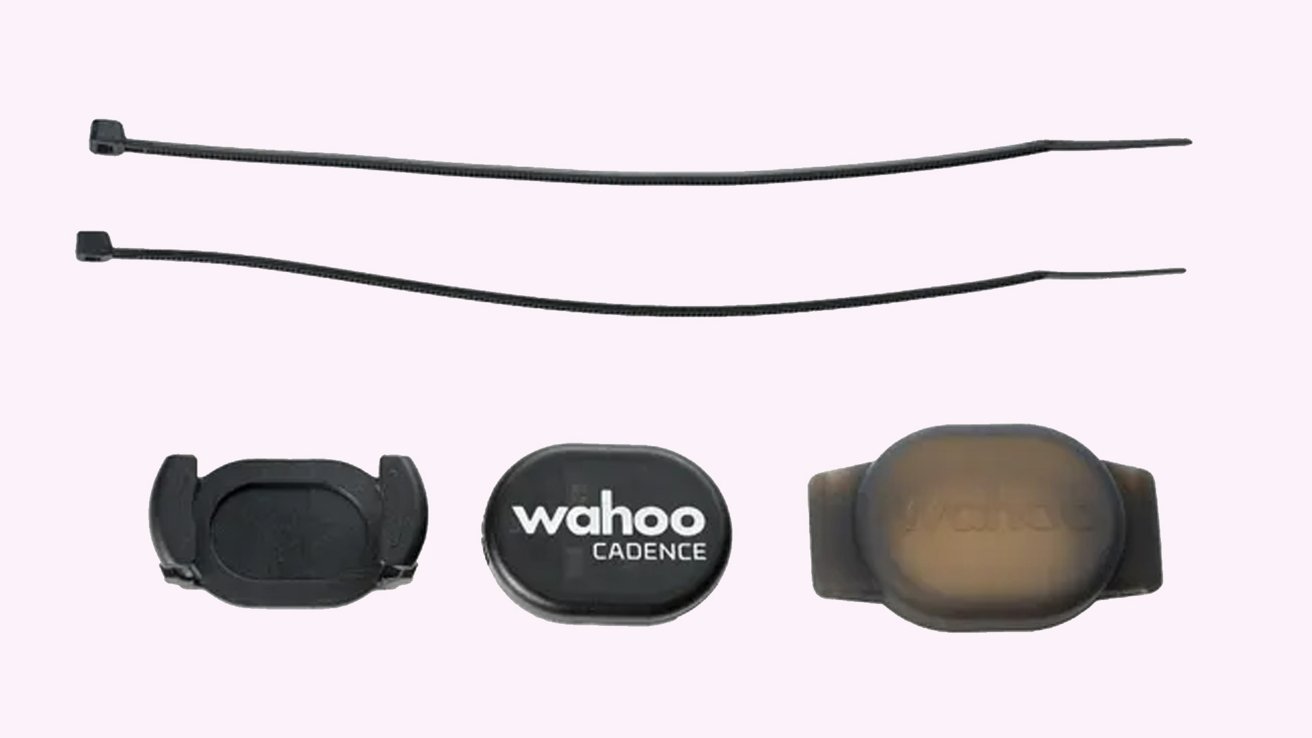
Cadence sensors and their cousins, the speed sensor, provide basic cycling data.
Another popular accessory is the speed sensor. It might seem illogical to have a speed sensor when the Apple Watch and iPhone use GPS, but GPS signals can be blocked by buildings and topography, leading to inaccuracies.
Many cadence sensors can alternately function as speed sensors. Again, there seems to be little difference between the models besides case design. Most mount between the spokes on a bike.
Some newer bikes, particularly at higher price ranges, come with built-in speed and cadence sensors, which will also work with the Apple Watch as long as they support Bluetooth.
Pairing a Bluetooth cycling sensor with the Apple Watch is as easy as pairing headphones.
Additional workout types thanks to sensors
New workout types are enabled when a cadence sensor or power meter is connected to the Apple Watch. For example, a workout based on maintaining power levels or one focused on cadence training can be created.
For serious cyclists, this functionality makes the Apple Watch and iPhone a (pardon the pun) powerful training device.
How to connect Bluetooth sensors to the Apple Watch
- On the Apple Watch navigate to the Settings app.
- Select Bluetooth
- Select the Bluetooth sensor you’d like to connect.
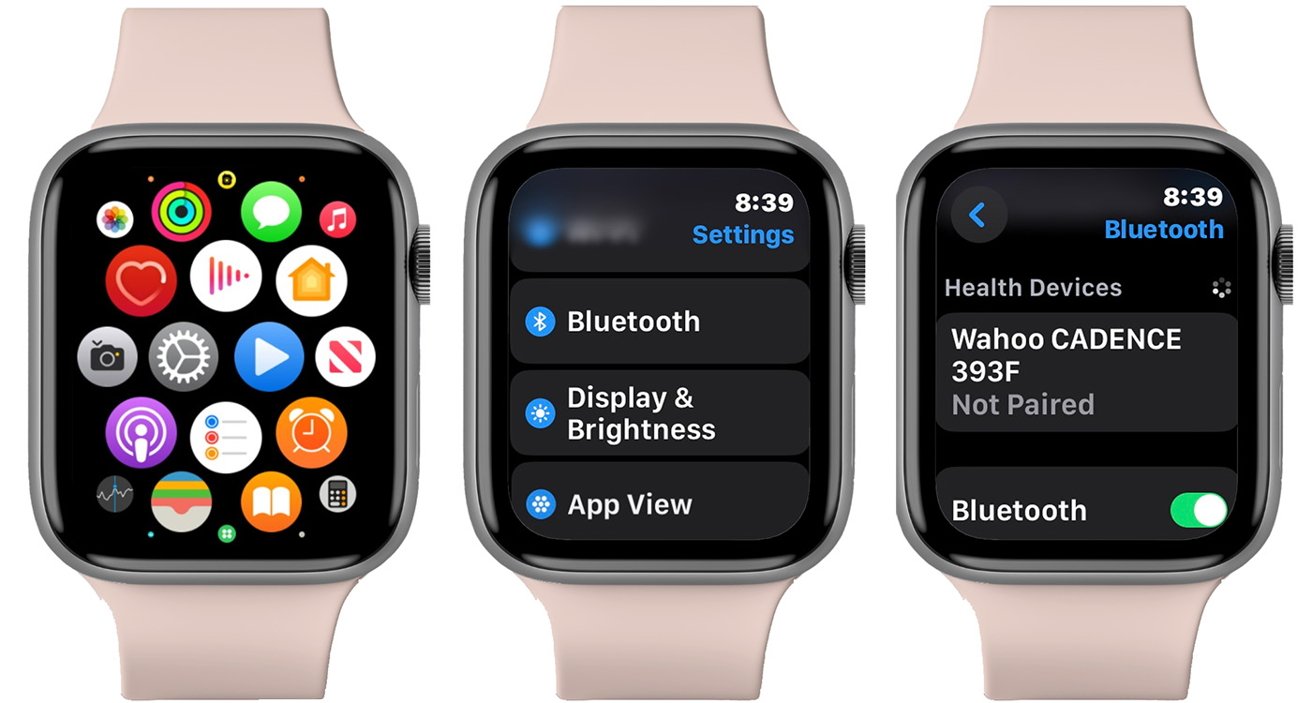
Adding sensors is a quick three-step process and it unlocks cycling computer features.
Follow the manufacturer’s instructions for waking or activating your device.For example, cadence sensors transmit only when they’re moving. Shaking a cadence sensor will allow it to be seen in the Bluetooth pairing screen
iPhone as a high-end bicycle computer.
When a cycling workout is started on the Apple Watch when the phone is unlocked, the iPhone displays a small bike icon in the Dynamic Island, along with a count-up timer for the duration of the workout.
If the iPhone is locked, a timer appears on the lock screen, and tapping that brings you to the updated bike computer.
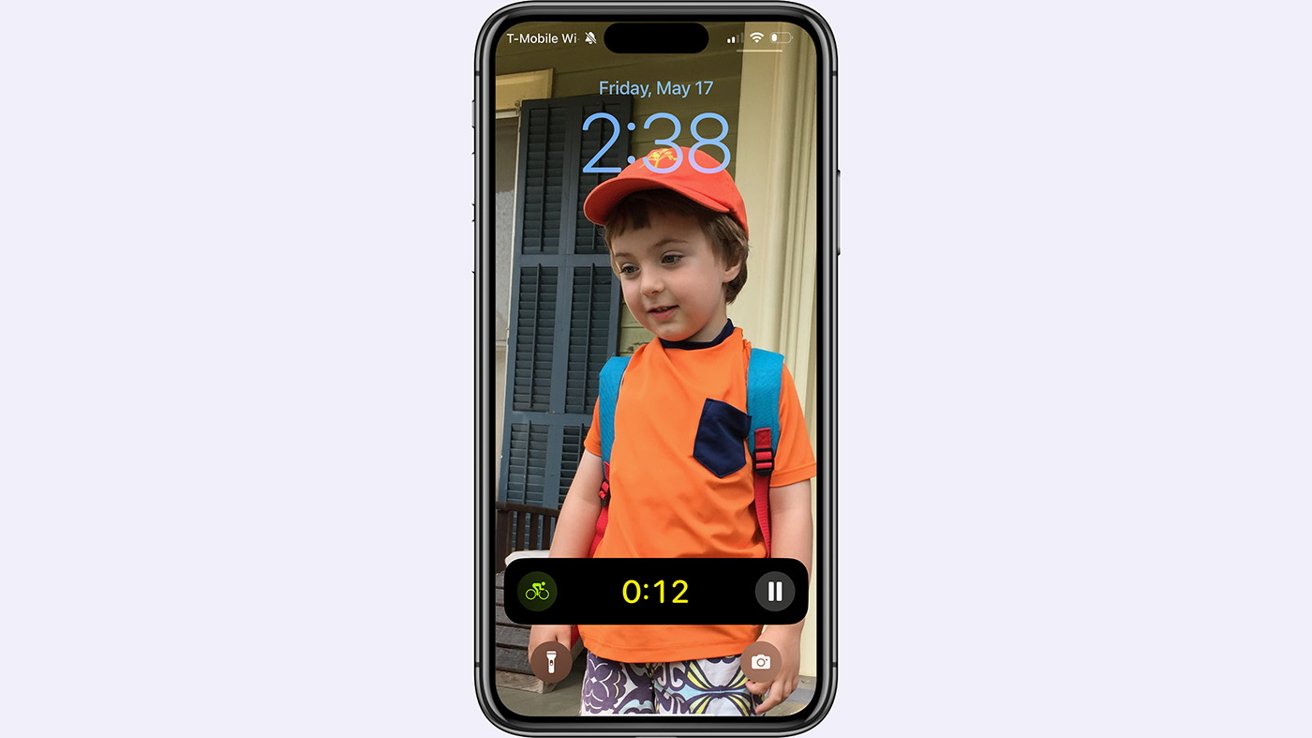
Once a cycling workout is started, the iPhone Lock Screen will display a new option.
Tapping the icon launches the companion cycling display on the iPhone. The iPhone has seven separate screens for bike displays, and you can swipe between each of them.
All the cycling screens show elapsed time and the status of the activity rings. Large buttons pause the workout, create a split, and expand the display to reveal choices to lock the bike computer or end ride tracking.
The first screen displays general information, including heart rate, average speed, elevation gained, and mileage.
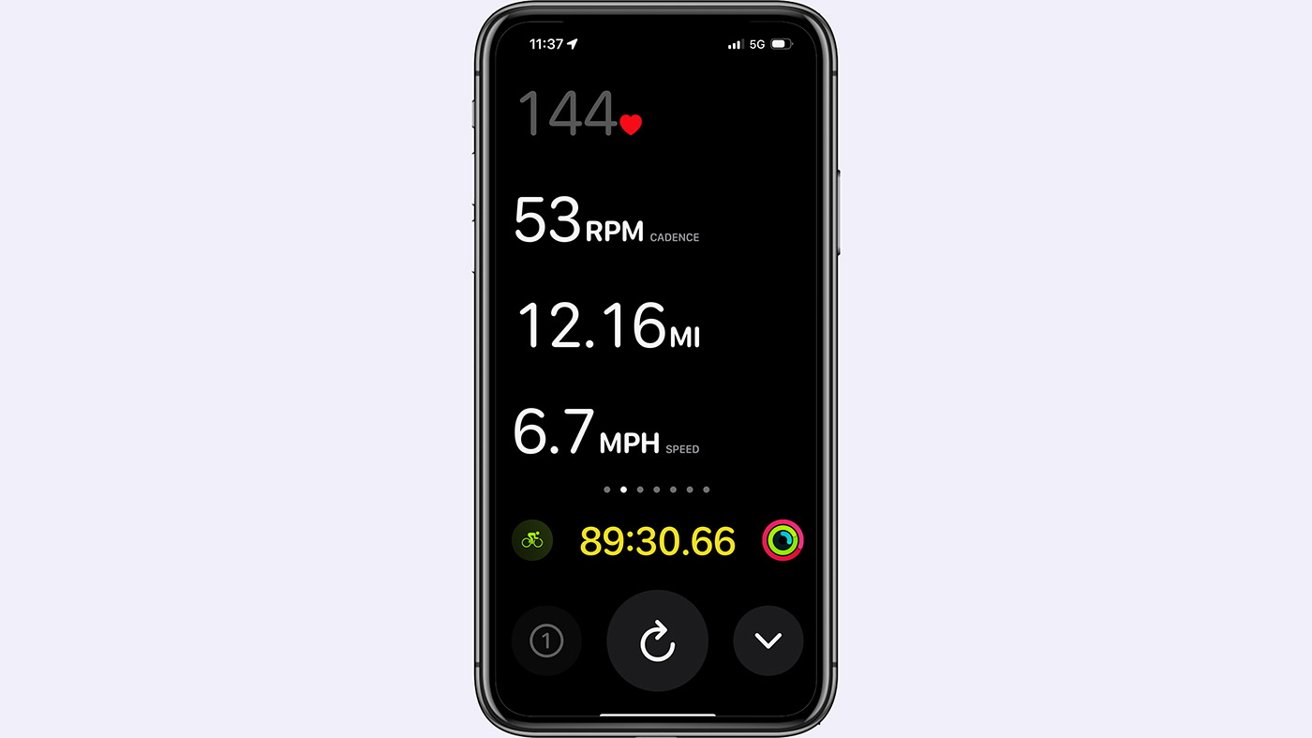
Add a sensor to the Apple Watch and new data screens appear on the iPhone.
The rest of the screens vary depending on what sensors are connected. Connect a cadence sensor, and a screen with cadence data is unlocked.
The Apple Watch now supports data from power meters. Power meters are the training tool serious cyclists prefer and show an athlete’s output in watts.
Power is important because it’s quantifiable. You can have a great feeling day on a bike but not be at your peak power. You can also feel terrible on a ride but actually be performing well.
Power meters take the guesswork out of performance and training the way that heart rate monitors give you a direct look at your body’s cardiovascular effort. Add a power meter, and the iPhone gains a display that shows current power, average power, current cadence, and a graph representing power output over time.
Power meters are expensive tools and are found built into either special pedals or special cranks.
Garmin has a line of pedal-based meters and most are about $1000, but aspiring racers will get more than enough performance and data from the $650 Rally RK100 pedals.
Power meter cranks are also mostly found in systems above $1000 and the correct model depends on the type of components on your bike. Power meter cranks tend to be more accurate than pedal systems, but less flexible. You can move pedals from bike to bike, you can’t take your drivetrain apart and move your cranks between bicycles.
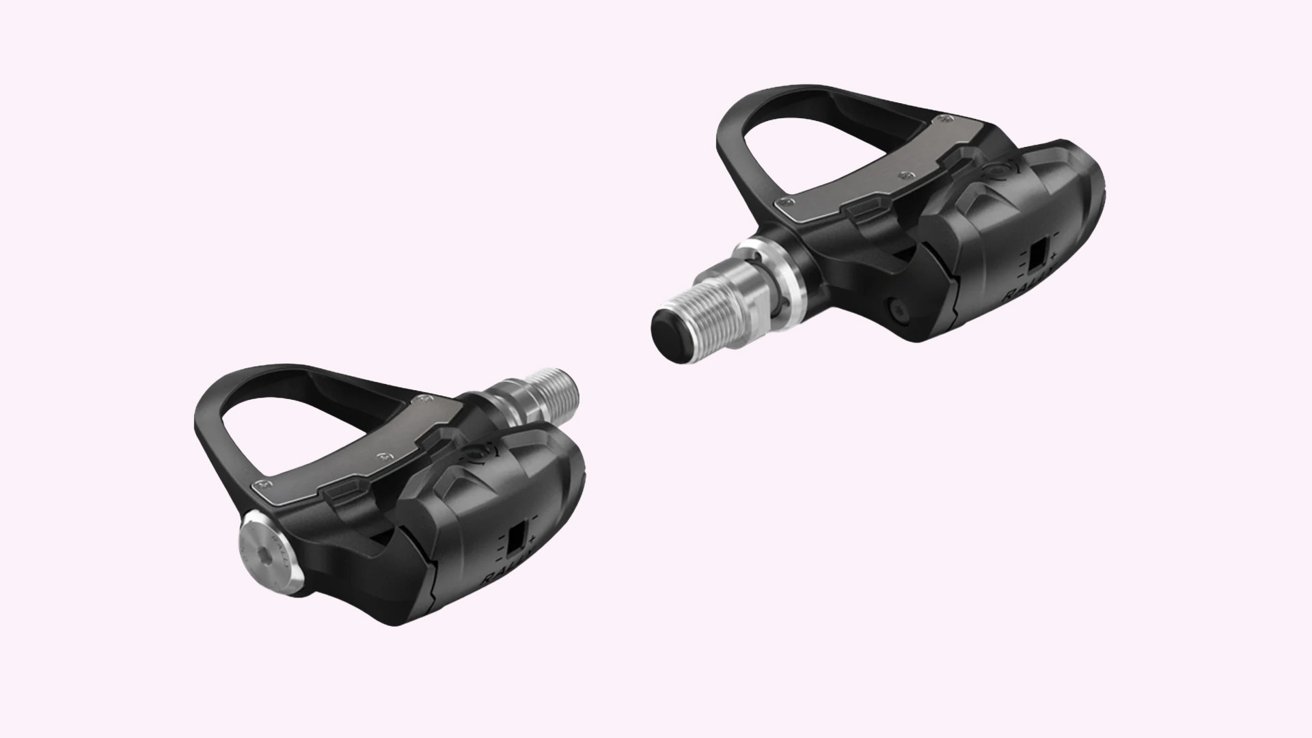
Power meter accessories can be expensive, but are key to effective training.
Your local bike shop is the best place to go for power meter cranks, but you can browse then on sites like Power Meter City.
Another important screen shows your current “zone,” or how hard your heart works relative to your maximum output. The Watch can capture this information without additional sensors, but being able to plot heart rate versus power output provides a more accurate picture of fitness level and health.
Many training programs will merge data for a more complete training or racing profile. The ability to capture and record heart rate, speed, cadence, altitude, power, and terrain are all the things the average cyclist or pro racer need to monitor their workouts.
Don’t forget Maps
One screen that’s not part of the iPhone’s enhanced bike computer mode is mapping and route guidance.
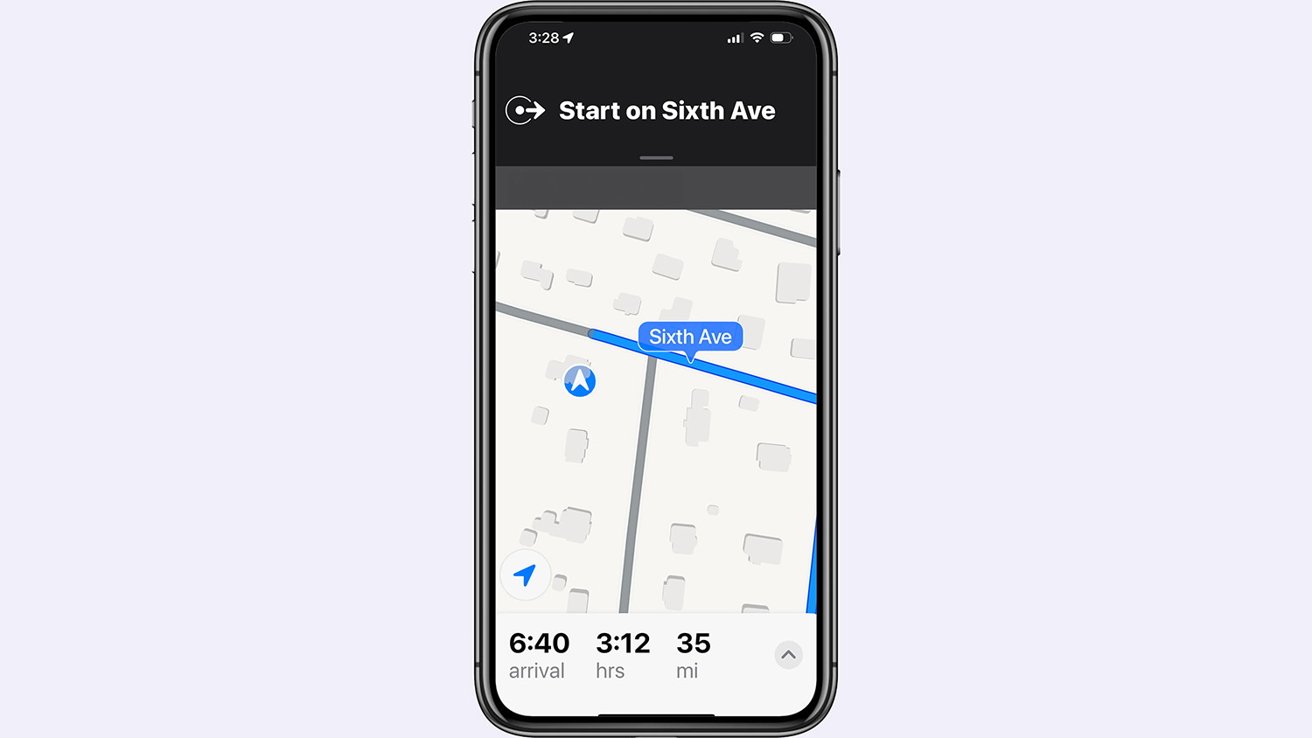
With its built-in mapping tools, the iPhone can provide turn-by-turn directions to cyclists.
Many cycling computers have no navigation abilities, but the higher-end computers have advanced route mapping and navigation.
Of course, any iPhone mapping tool can be used during a ride, but Apple’s Maps has a particularly beneficial feature.
Just as using Maps while driving or walking provides turn guidance by providing haptic feedback through the Watch, that feedback is also provided while cycling. In addition to navigation notifications on the phone, your Apple Watch will vibrate for upcoming turns.
These cycling activity updates turn the iPhone into one of the most powerful bike computers available to cyclists.


