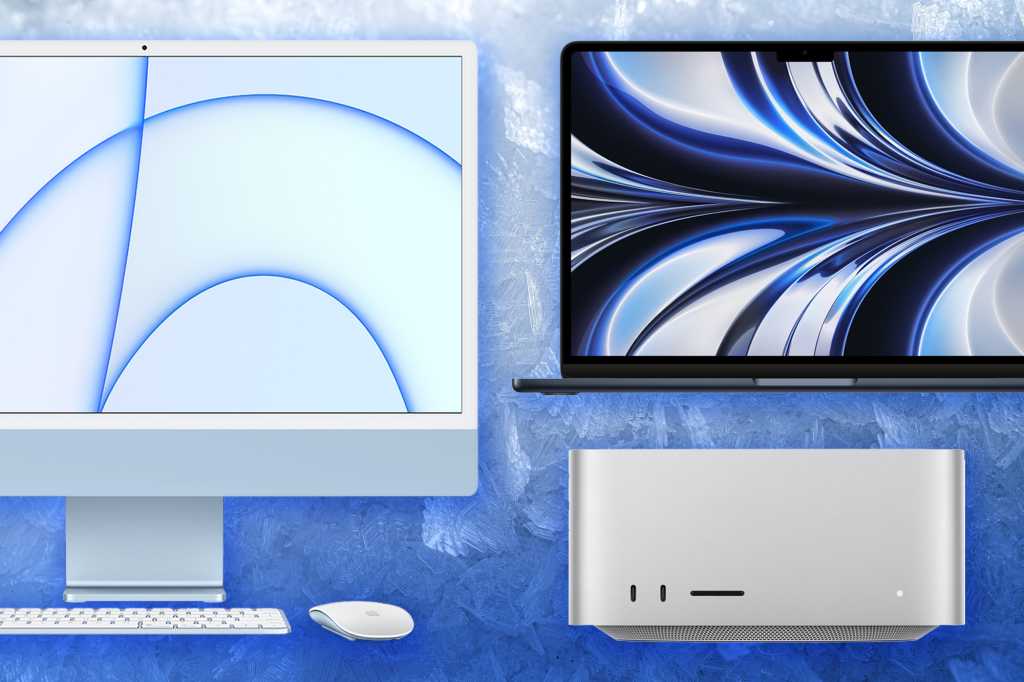
Got a new Mac? If this is the first one you’ve ever owned, a hearty congratulations! Your new Mac is easy to use and more powerful than it’s ever been. As easy as the Mac is to use, doing some things may not be instantly obvious (especially if you are coming from Windows). You owe it to yourself to make sure you’re getting the most out of your new investment.
Here are 12 things that you should do right away that will help you get started down the path toward being a Mac power user. Most of these will cost you absolutely nothing except a bit of time to set up.
We have a separate guide to how to set up your Mac, we also explain how to move everything from your old Mac to your new Mac. And if you are moving to Mac from a PC read: How to move from PC to Mac.
1.
Enter your Apple Account and password
Foundry
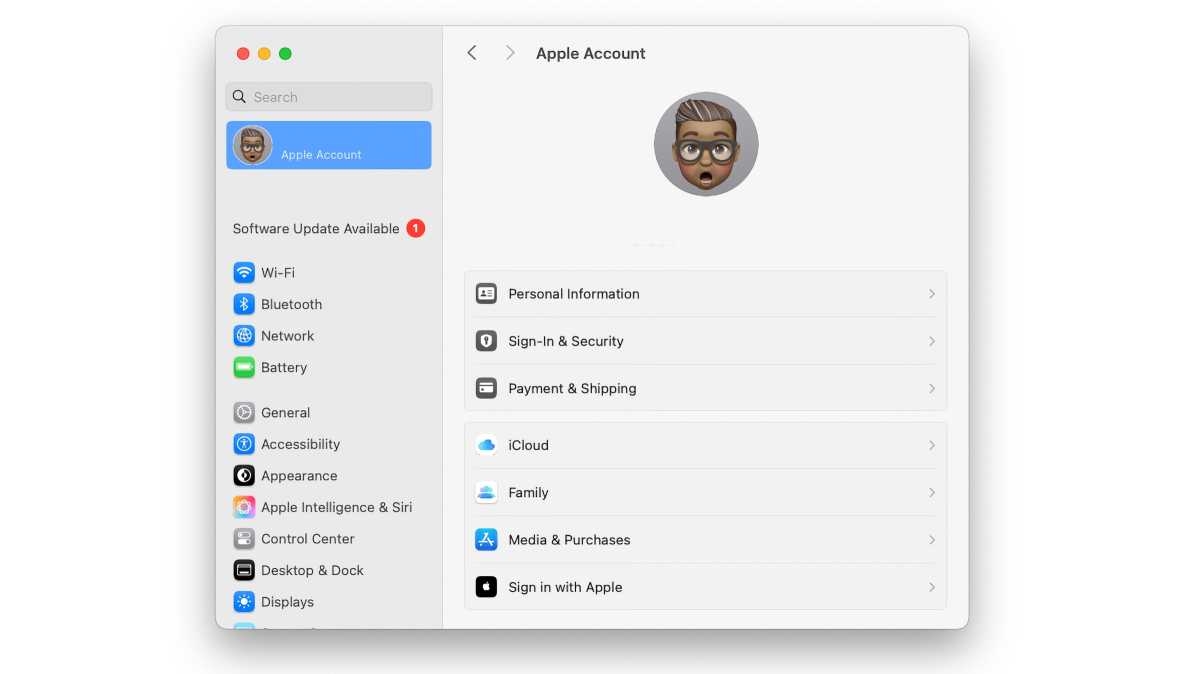
There’s a good chance that even if this is your first Mac, you already use an iPhone or an iPad. Just like those other devices, your Mac wants you to enter your Apple Account and Apple Account password. Enter your Apple Account and password to connect to iCloud on your Mac when you first set it up or later through the Apple Account system setting.
By connecting to iCloud with your Apple Account you can access all your photos, contacts, calendars, and much more on all your Apple devices without ever having to physically tether or sync them. Once all your Apple devices are linked this way you’ll also be able to take advantage of features like being able to cut and paste between devices, use a mouse and keyboard to control more than one Mac, and make purchases on the Mac App Store.
Depending on whether you an an iCloud subscriber you will also be able to sync files to the cloud, including documents and everything you save to your Desktop. Because you can access everything in iCloud on any Apple device you own you won’t need to have your Mac handy to edit a Pages document you are working on, for example. Find out about iCloud here: How to use iCloud and What is iCloud Private Relay. To find out how much iCloud costs read: iCloud storage plans and prices.
If you haven’t created an Apple Account yet, now is the time to do so. Think of your Apple Account as your keys to the kingdom. For help read: How to create an Apple ID.
You can get to your Apple Account by going to System Settings and clicking Apple Account at the top.
2. 
Foundry
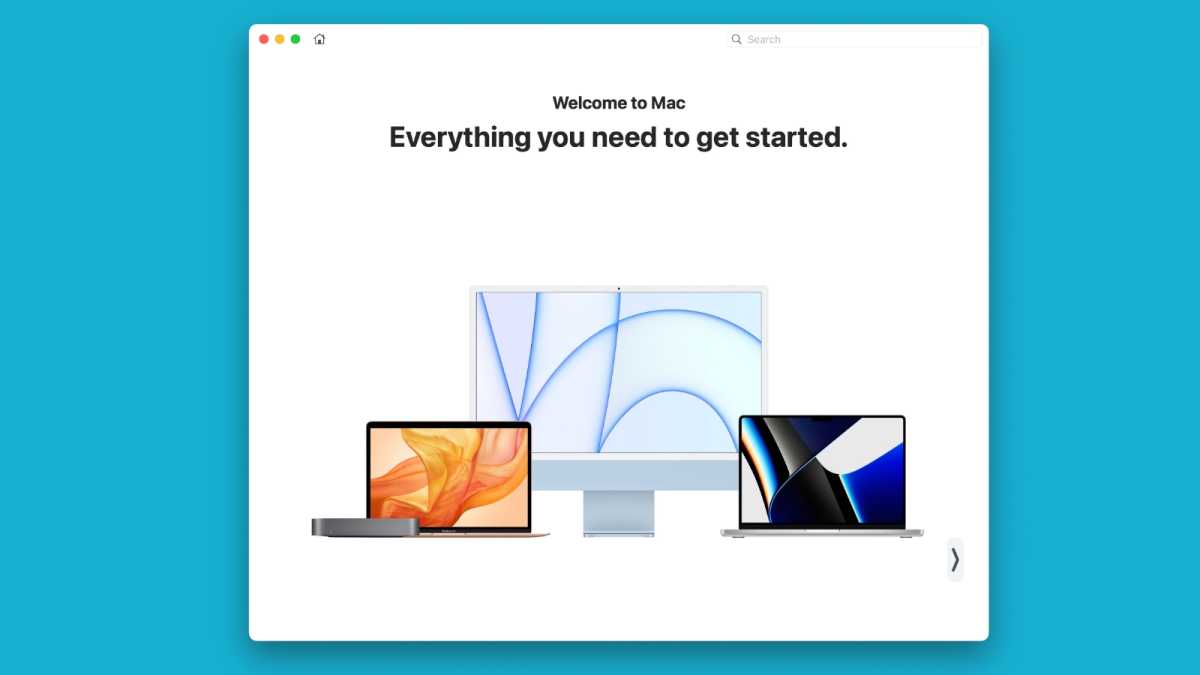
If you’ve ever wondered why the Mac doesn’t come with a thick owner’s manual explaining how it works and how all the apps work, wonder no more: That manual is actually built right into the computer.
The Help menu is so obvious that most of us overlook it altogether. But we do so at our peril because it can be a huge help. The Help menu sits right there in the menu bar, and it’s contextual: Its contents will change depending on which app is open.
Clicking on the Help menu will bring up a search field, table of contents, lists of shortcuts, and other helpful tips and step-by-step instructions, often with visual cues to show you which menus to click on and what menu items to select. Any time you get stuck in an app and don’t know what to do next, click on the Help menu to get out of a jam.
3. 
Foundry
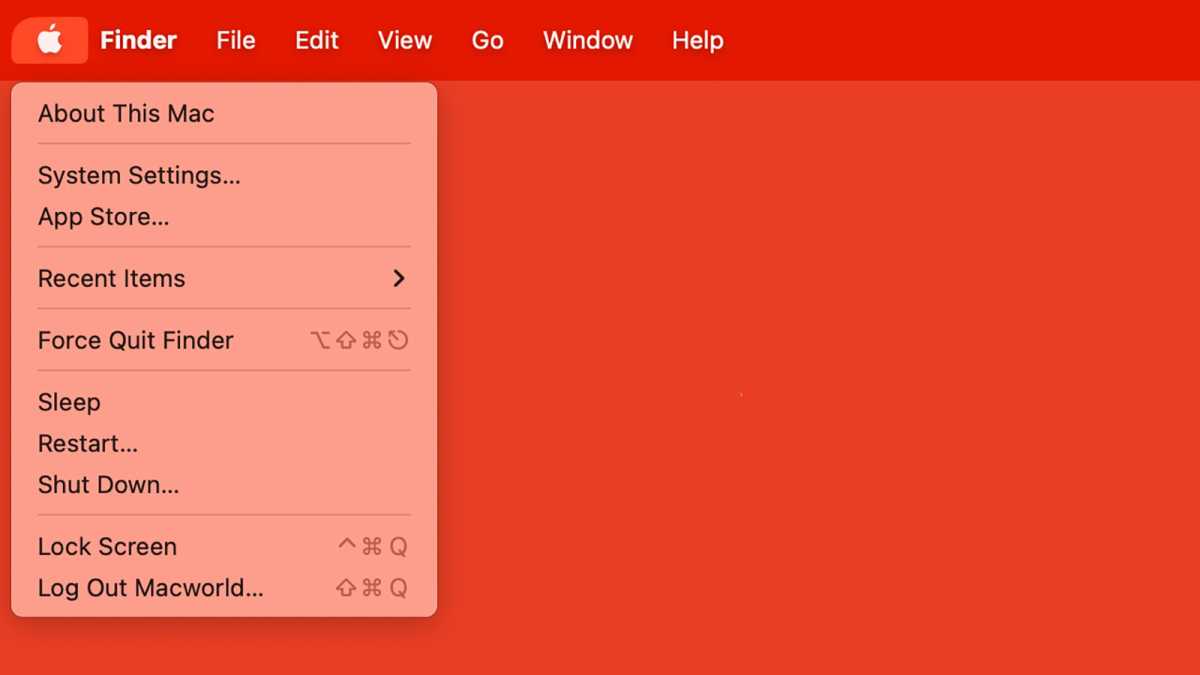
The Apple menu is in the upper left corner of your Mac’s screen.
Clicking on the Apple icon gives you instant access to your Mac’s System Settings, the Mac App Store, and apps and documents you’ve recently opened (see Recent Items). You can also use the Apple menu to restart your Mac and shut it down.
If an app misbehaves and stops working, the Apple menu also sports a special function that’s worth knowing: Force Quit. Force quit will immediately quit a stubborn application, so you can restart your computer and get back to business.
4.
Get to know Spotlight
Foundry
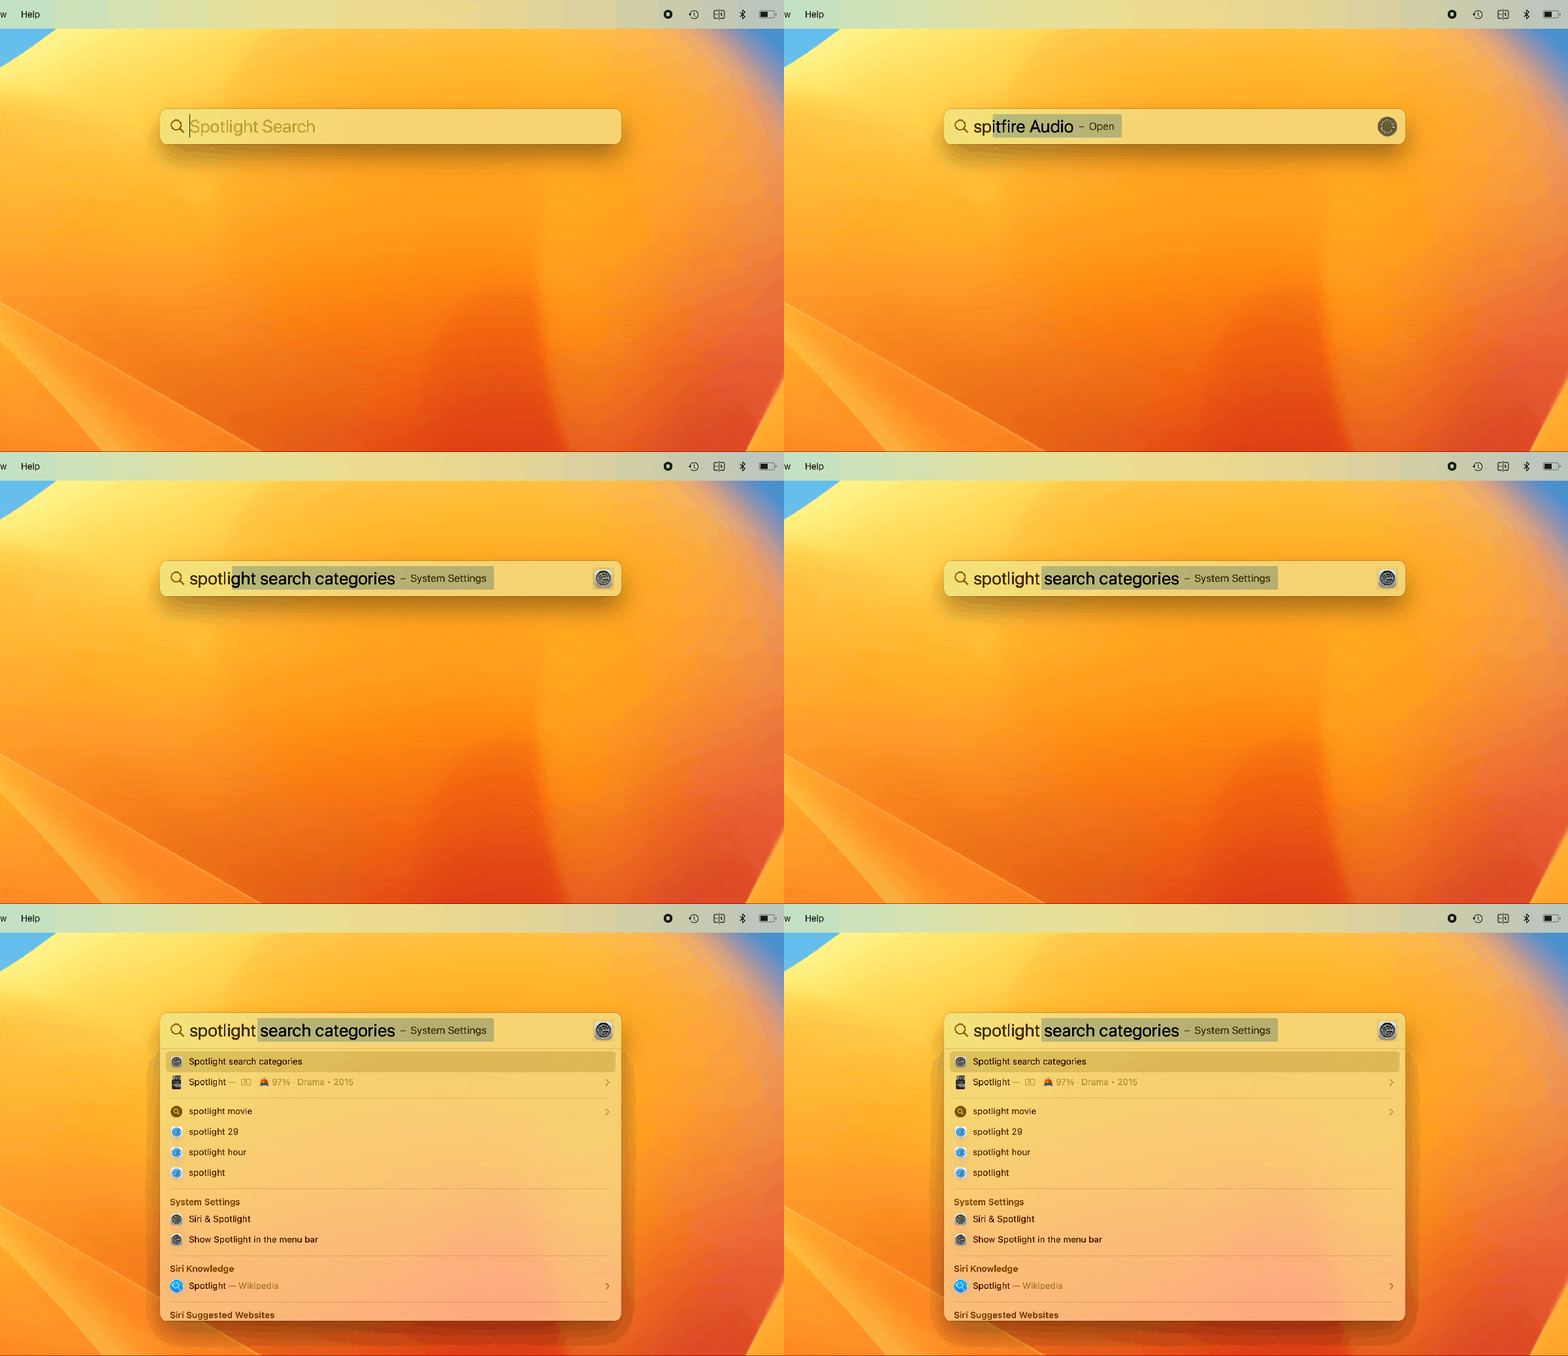
Built right into macOS, Spotlight helps you quickly find things on your computer: documents, apps, images, contacts, maps, and files. What’s more, it can connect to the internet to search places like Wikipedia, news sites, movie listings, and much more. You can even use Spotlight to do calculations, like converting feet to meters or any sort of simple arithmetic you’d rather trust to the computer.
Spotlight lives on your Mac’s menu bar; it’s the icon that looks like a magnifying glass and clicking on it brings up the Spotlight search field. You can also open Spotlight by pressing Command and Space at the same time.
Type anything into the search field and Spotlight will search for it.
Once you get the hang of it, using Spotlight is the fastest way to launch apps, find documents, and do tons of other stuff on your Mac really quickly. Over the years it’s gained more and more features including robust web and image search, and quick actions like timers built right in.
5.
Customize the Dock
Apple
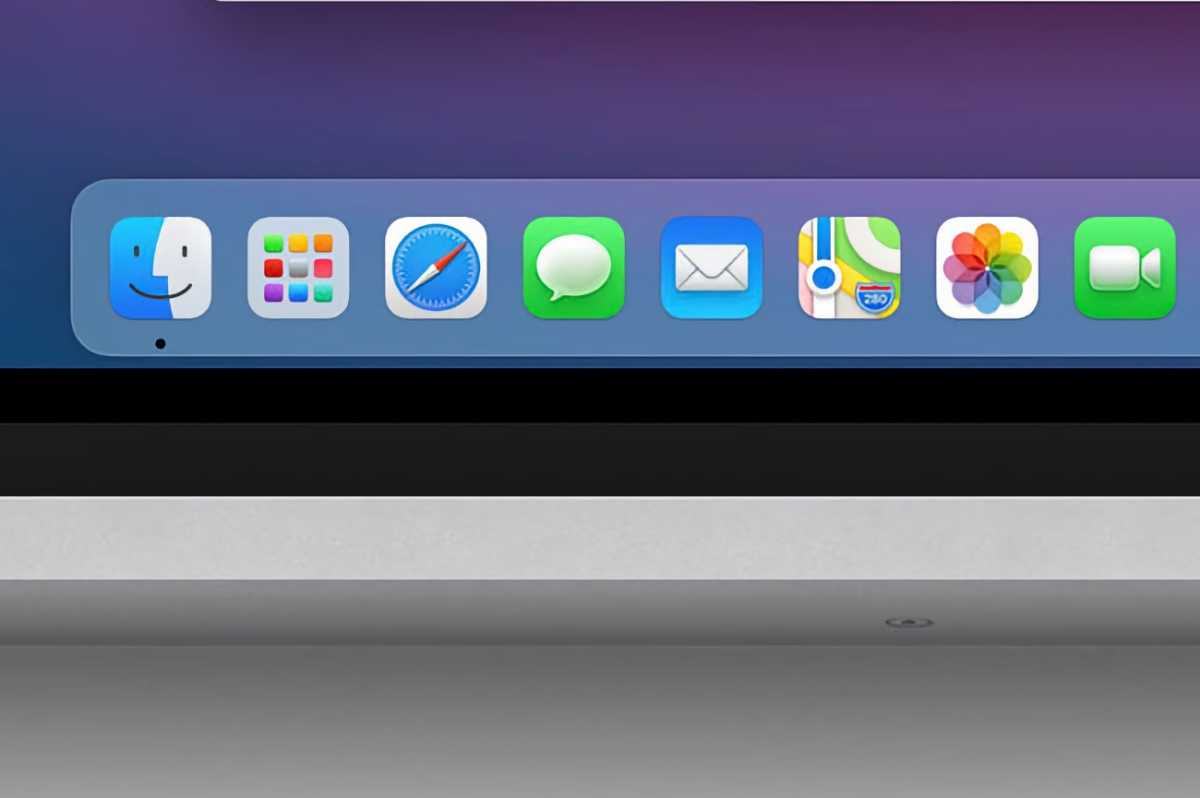
The Dock is that bar of icons that sits at the bottom of your Mac’s screen. Docks on new Macs will be filled with Apple’s own built-in apps, like Safari, Mail, Contacts, Calendars, and Notes, but you can customize it to your liking.
Your Dock is the most important part of your Mac Desktop, so spend some time getting it just the way you want.
You can tailor your Dock to show you only the apps you care about. Don’t use Maps or FaceTime? Drag them out of the Dock until the word Remove appears and let go. Use Mail more than anything else? Move it over to the left or right, instead. You can also add applications, folders, and files you need frequently simply by dragging them and dropping them into the Dock.
To further reduce the space taken up by the Dock you can change the size of icons. To resize the Dock, click and drag on the bar that separates applications from folders and stacks. You can also change the size of icons, change the magnification of icons as you pass your cursor over them, turn off the bouncing animation, reposition the Dock to the left, bottom or right edges of your screen, and much more in the Desktop & Dock settings (macOS Ventura and later) or Dock & Menu Bar settings (macOS Monterey and earlier).
6.
Personalize the way your Mac looks
Foundry
This is your Mac. Make it look the way you want it to.
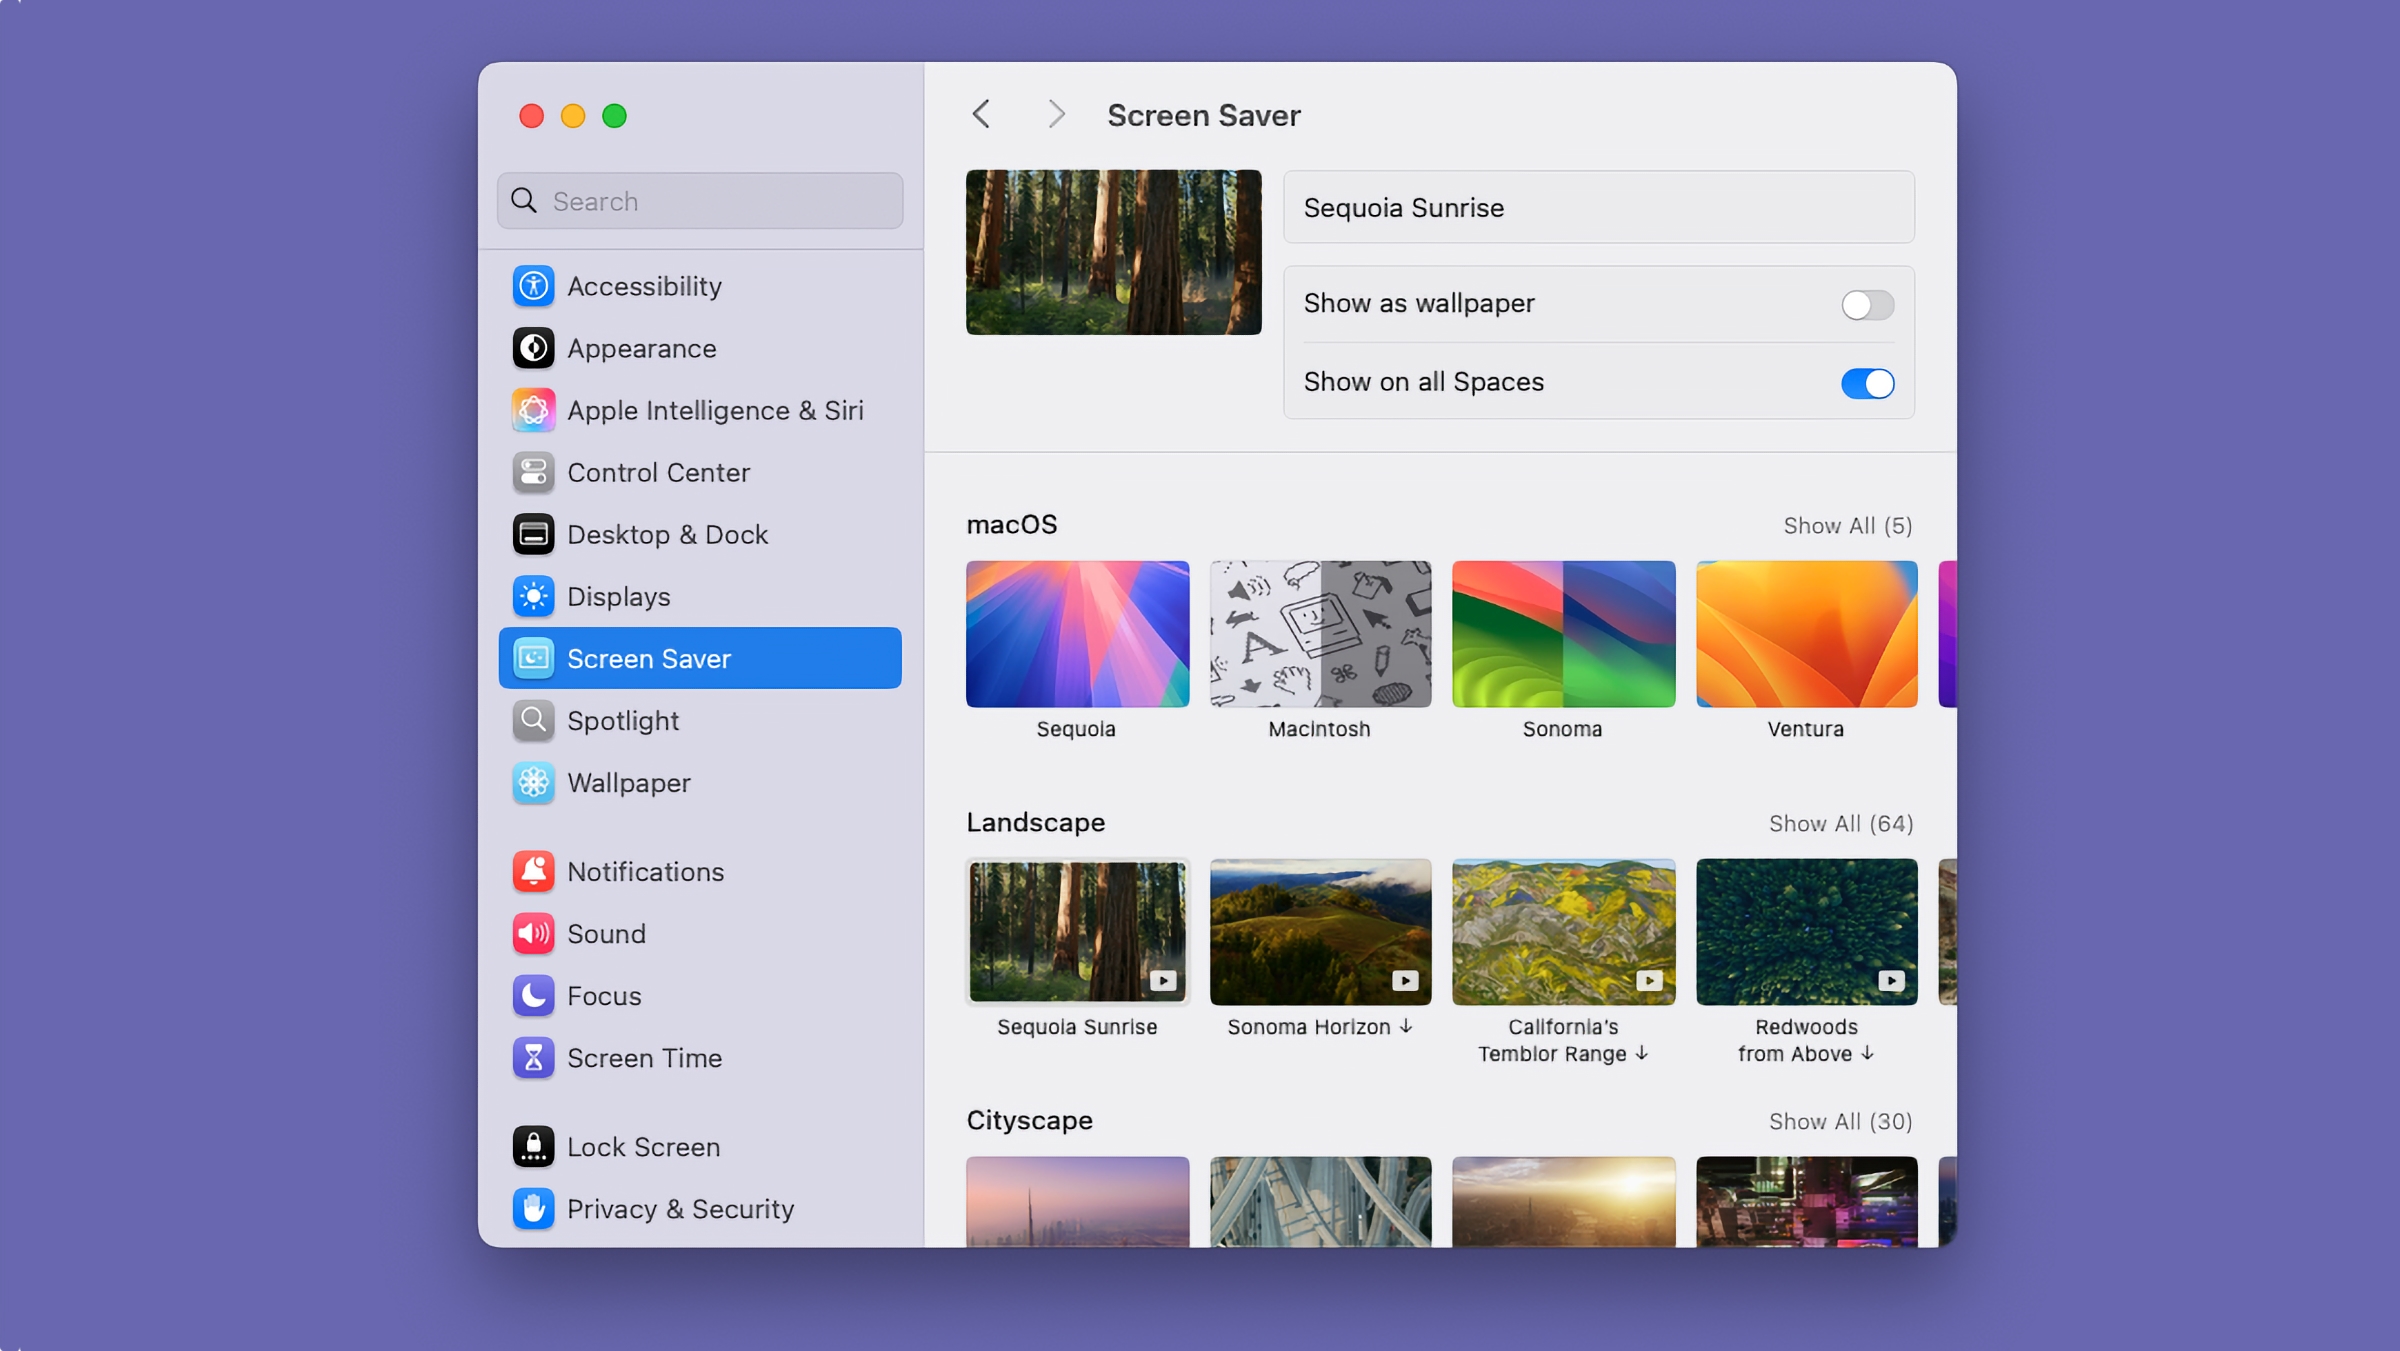
Change the wallpaper: Right-click the desktop and select Change Wallpaper, or open System Settings and select the Wallpaper option. You can pick from the beautiful images Apple provides or choose one of your own.
Customize the interface: Open System Settings and choose Appearance. You can choose things like highlight colors and whether your interface changes to light or dark depending on the time of day, and more.
Change the screen saver: In System Settings > Screen Saver you can pick from tons of screen savers including some beautiful views of the Earth from the space station, underwater video, and more.
Use Desktop Stacks: If you want to keep your Mac’s desktop tidy we recommend switching on Desktop Stacks, which will group all the files on your Desktop by category (you can choose whether they are sorted by kind, date, or tags.) To switch on Stacks click on the Desktop and choose View > Use Stacks from the menu. Now everything will be slotted into category-appropriate ‘Stacks’ on your Desktop rather than your Desktop being cluttered by thousands of screenshots and files.
7.
Learn keyboard shortcuts and master gestures
Foundry
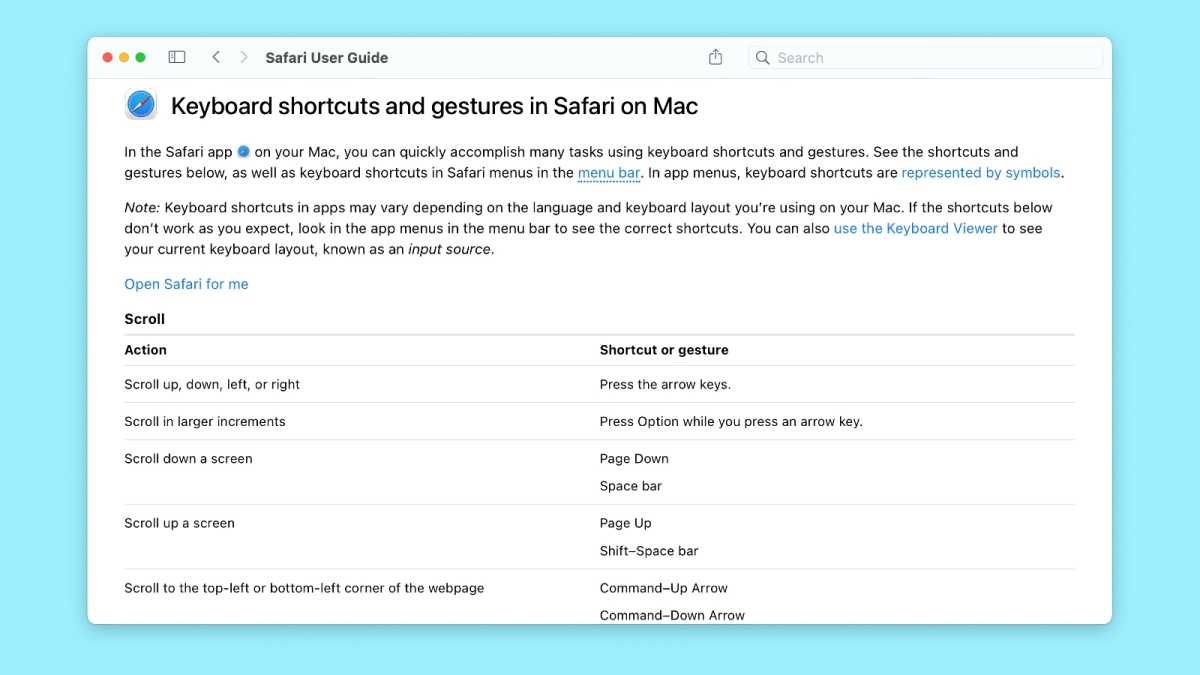
Apple’s user interface is set up with straightforward menus such as File and Edit, and most apps expose their major features through those menus as well. Need to print something? Just click on the File menu and select Print.
But you can save yourself so much time by using keyboard shortcuts to do commonly used tasks instead. Instead of clicking on the File menu and selecting Print, for example, you can just hold down the Command key and press P. (If you are coming from a PC, mostly you will press Command where you used to press Control).
Each app on the Mac has its own shortcuts. Opening Mac Help and searching for “keyboard shortcuts” will yield some references, we also recommend this article: These useful Mac keyboard shortcuts will help you work faster and smarter.
If your new Mac includes a trackpad—either because it’s a laptop with a built-in pad, or you scored a Magic Trackpad to go with your new desktop—take some time to learn about the many gestures built into macOS, your new Mac’s operating system.
One of the simplest ways to discover the various gestures available is right in System Settings. Once there, click on Trackpad. There, you’ll find three tabs’ worth of mouse shortcuts. Move the cursor over any of them, and you’ll get a video preview of how to trigger the gesture. Some may well improve your Mac computing experience; I, for one, love the three-finger double-tap on any word to bring up its definition.
8.
Visit the Mac App Store
Foundry
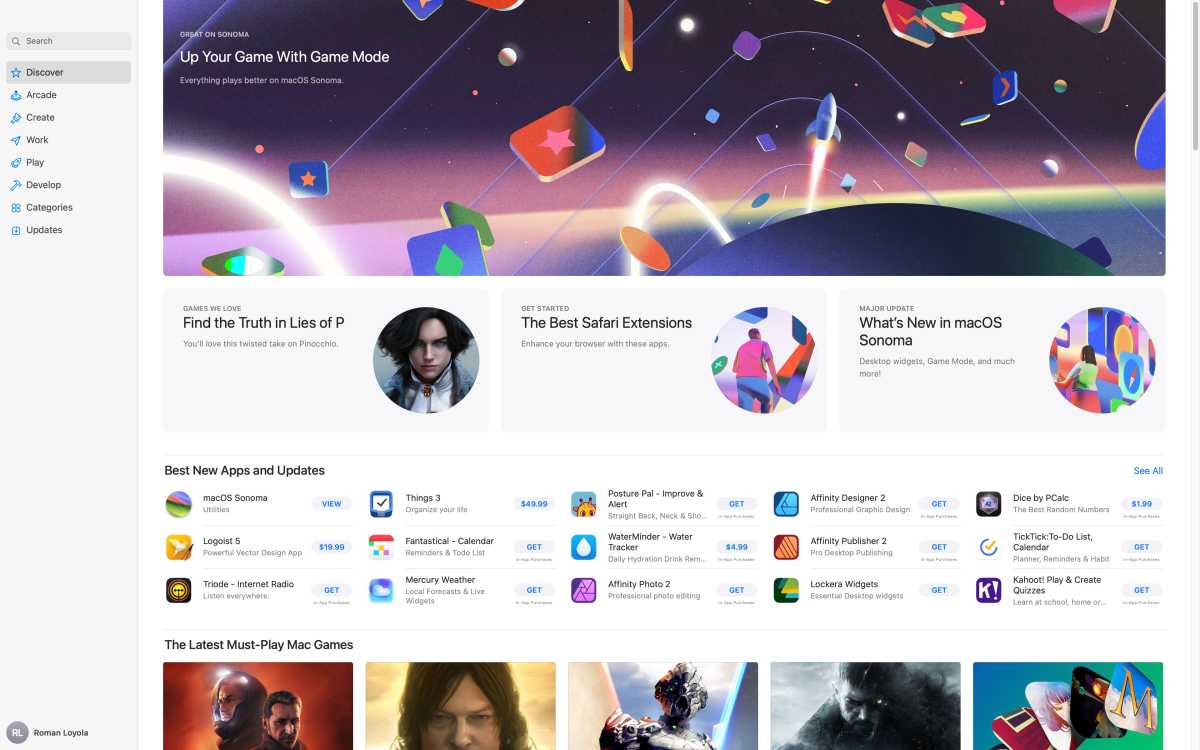
The Mac App Store is a convenient and safe way to download software for your Mac, all using the same Apple Account and password you use for Music and iPhone apps. There are thousands of apps available, including many that won’t cost you a dime.
The Mac App Store is much more important than just a way to download great new apps for your Mac. It’s also how Apple distributes essential app updates. To keep your Mac running in tip-top shape and to keep everything as secure as possible, download updates when you see notifications from the Mac App Store or set apps to automatically update like on your iPhone.
On a new Mac, it’s right there in your Dock—the blue circle with a stylized A inside it. The Mac App Store offers thousands of apps, and downloading and installing those apps is straightforward. Many apps are free; others require a payment, ranging from $1 to a couple hundred bucks. While you can—and likely will—find plenty of apps outside the cozy confines of the Mac App Store, browsing it is a great way to discover interesting apps, read reviews, and get a sense of the Mac software marketplace.
On the M-series Macs, you can even install iPhone and iPad apps. When you’re searching, just click over to the iPhone & iPad Apps tab to download iOS apps right on your desktop.
9.
Start a backup
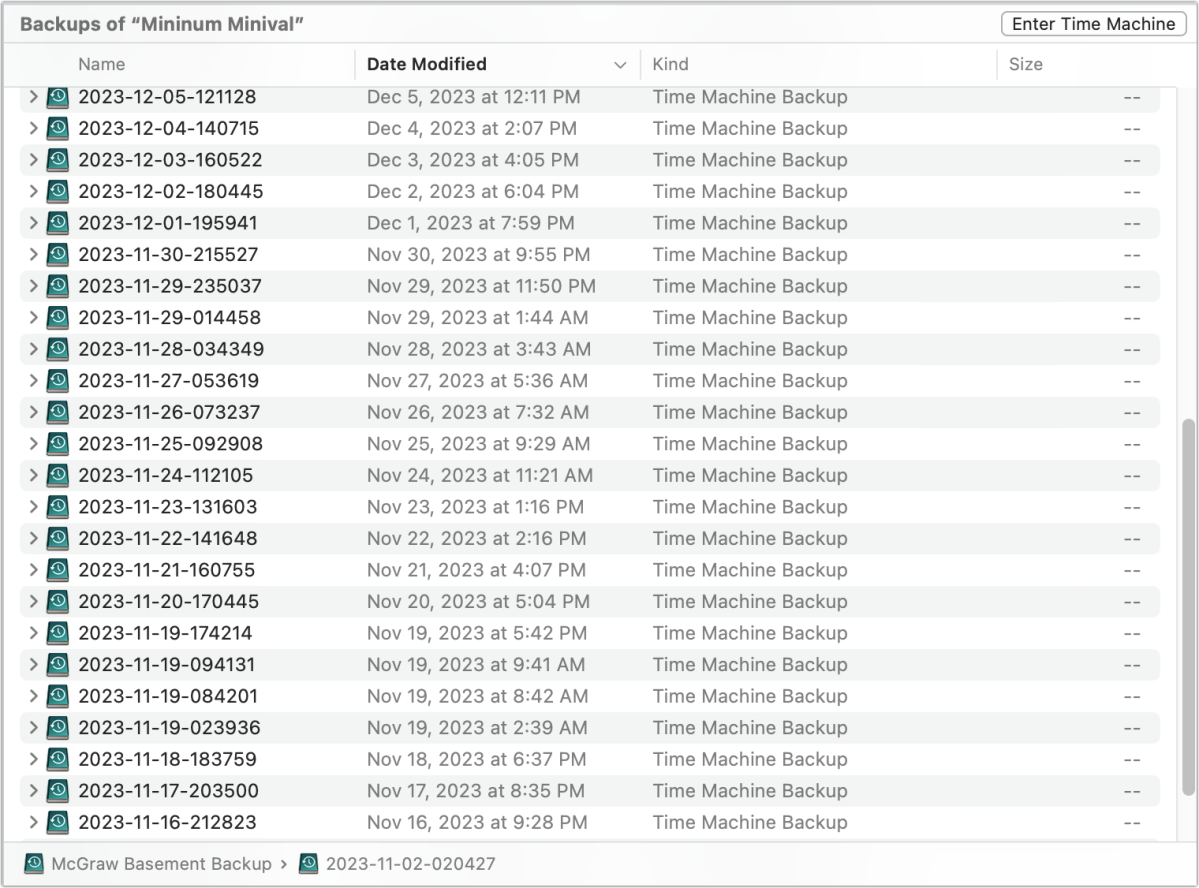
Time Machine snapshots appear as volumes in the Finder.
Foundry
Setting up a backup is boring, un-fun, and doesn’t involve playing with any cool apps or doodads. But your future self will thank You-Of-Just-Past-Christmas, and with good reason: Having a good backup solution now means you won’t lose irreplaceable data later. We’ve covered numerous ways to back up your Mac with minimal fuss. Pick at least one and get started. Trust me.
Probably the simplest solution is to use Apple’s own backup solution, Time Machine, which is part of the Mac operating system (see How to use Time Machine to back up your Mac). All you need is a separate external storage device that you can buy for a relatively small investment (see: Best external SSD for Mac or best external hard drives if you want something a bit cheaper/bigger). Time Machine makes recovering from big problems easy because it keeps a snapshot of your Mac and makes it a breeze to migrate to a new Mac when the time comes to replace or upgrade your system.
The “time” in Time Machine is a timeline that you can review, restoring files or changes to files that were made at the points where Time Machine saved its backups. Time Machine backs up your Mac hourly, daily, weekly, and monthly, so you’ll always be able to recover to that point in time. As long as that drive is connected your Mac will be backed up.
To set up Time Machine follow these steps:
- Plug in an external drive.
- Open System Settings and go to General.
- Find Time Machine in the column on the right.
- Click on Options to set the backup frequency.
10.
Set up your email
Foundry
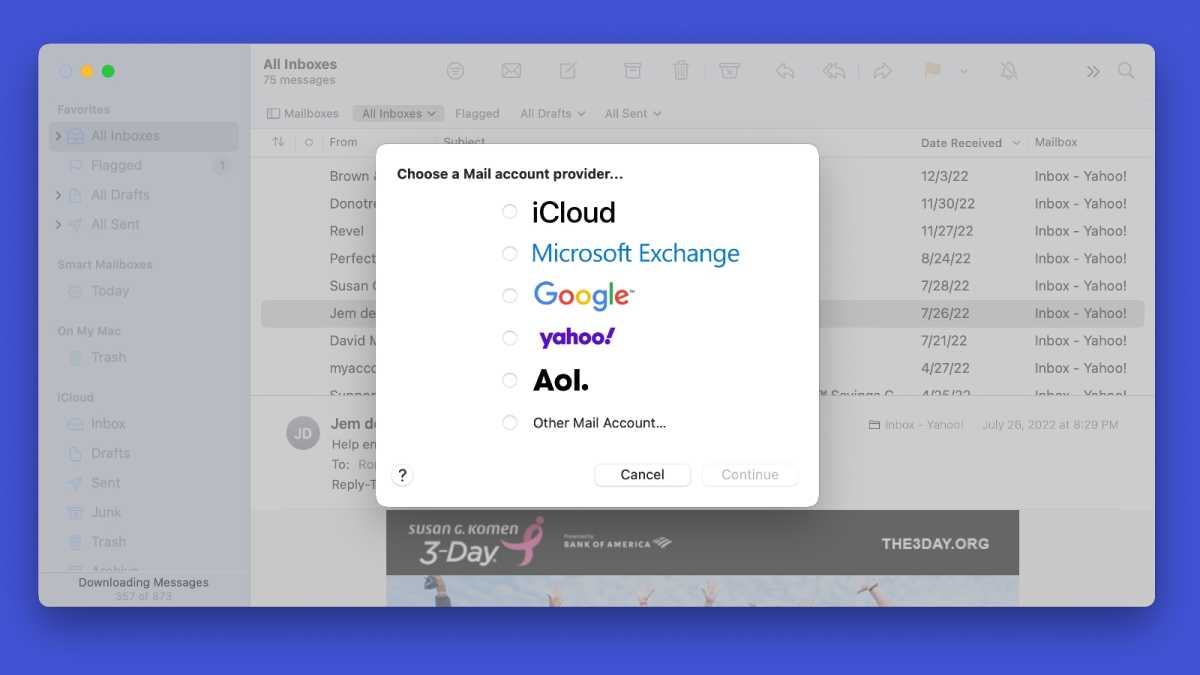
Are you still accessing your email using a web browser, going to Gmail or Microsoft’s website to see what new messages you have? There’s a better way: Apple gives you a Mail app that can connect to almost every email service. Using the Mail app is a lot more convenient especially if you check multiple email accounts, and it’s well-integrated with macOS’s other core applications, such as Contacts, Calendars, and Maps.
You’ll find the Mail app in your Dock on new machines. Click it to open it and follow the instructions to set up your account.
11.
Find your printer
Foundry
With so many of us working from home these days, printers are a big thing in many of our houses.
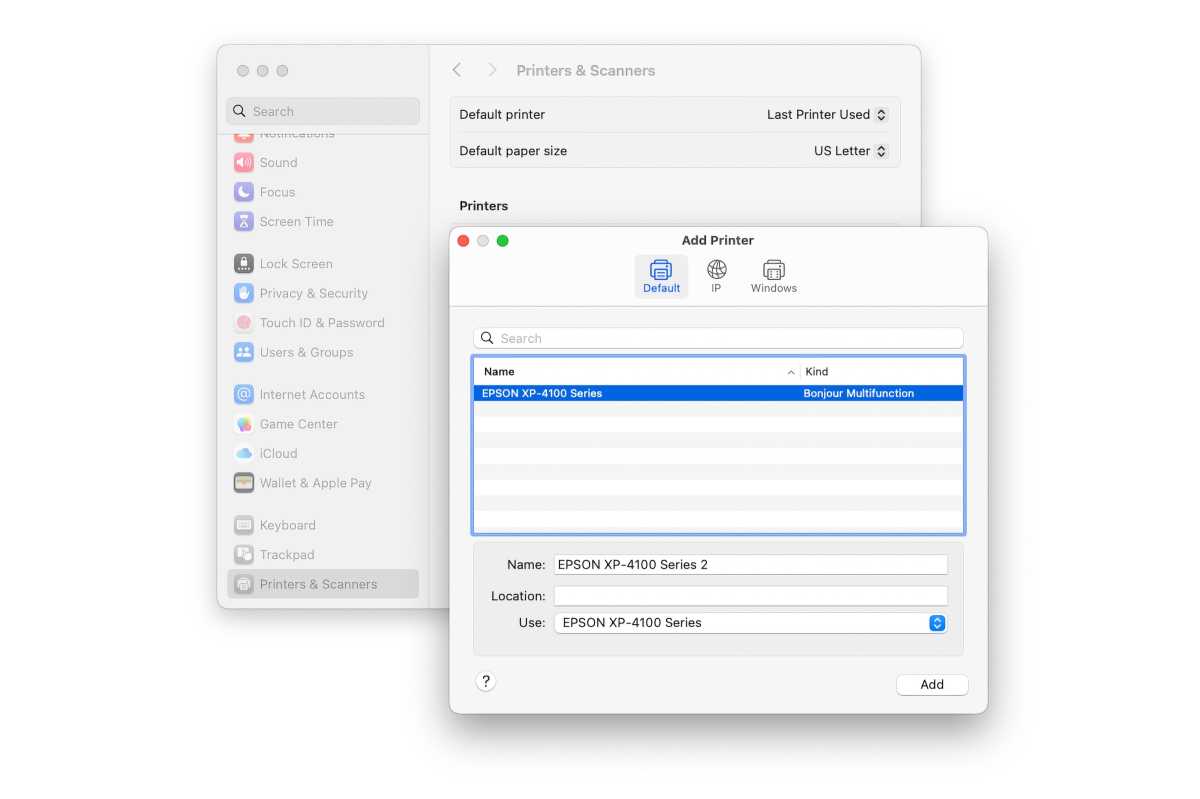
In the past, you had to download and install drivers and software, but the Mac makes it way easier to set up.
All you need to do is to connect your printer to one of your Mac’s USB-C ports or connect to a Wi-Fi network.
- Open System Settings
- Click on Printers & Scanners.
- Click on the Add Printer, Scanner, or Fax button.
- If your Mac recognizes the device (and it should), it’ll configure it as needed and download any applicable drivers from Apple’s servers.
12.
FaceTime a friend
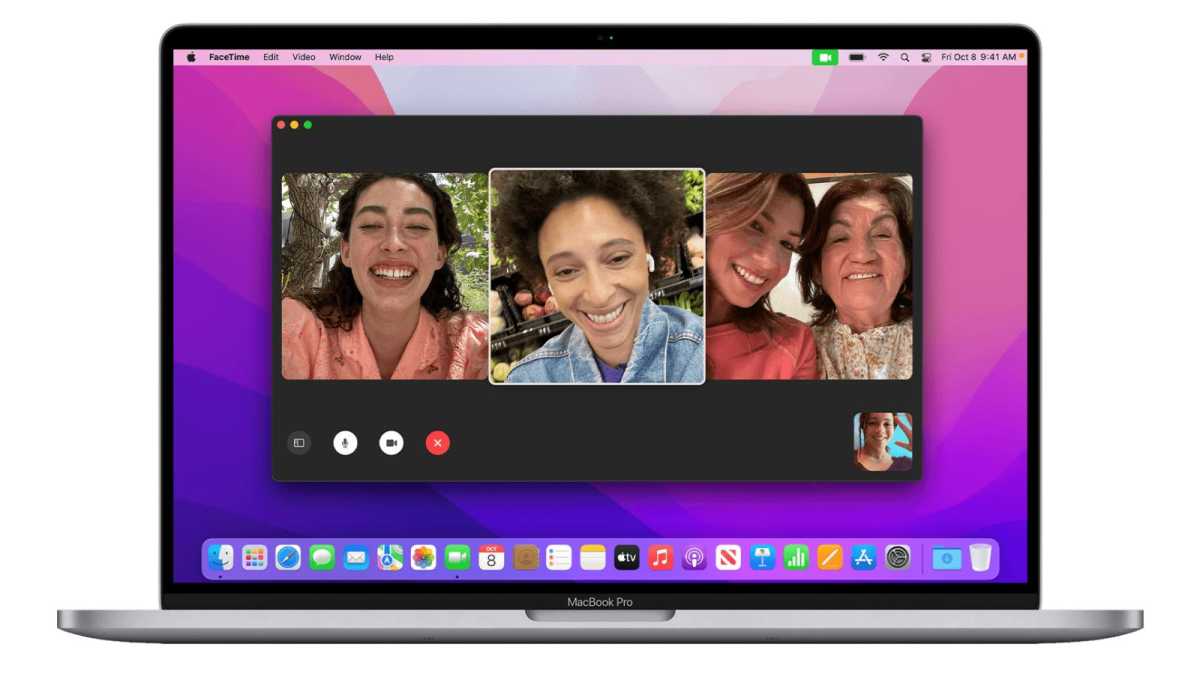
Video chatting might not feel like the future anymore, but it’s still a delight. No software makes it easier to start (or receive) a video call than FaceTime, which is built right into macOS.
Find FaceTime in your Applications folder, or use Spotlight to search for FaceTime by typing in the first few letters of the app’s name.
Now all you need is the email address or phone number of another FaceTime user.
Read more about using FaceTime on a Mac in our guide.
13.
Check out Apple Intelligence
In macOS Sequoia 15.2, Apple Intelligence started to hit its stride with some new tricks, including Image Playground and ChatGPT integration. And that’s in addition to the features introduced with macOS 15.1, including Writing Tools and a smarter Photos app.

